
These no bake protein cheesecake cups are the easiest high protein dessert you’ll ever make! Ready in under 10 minutes with just 3 simple ingredients (plus optional toppings), they’re creamy, naturally sweetened, and packed with 13 grams of protein per serving. No oven required! {Gluten-free and vegetarian}
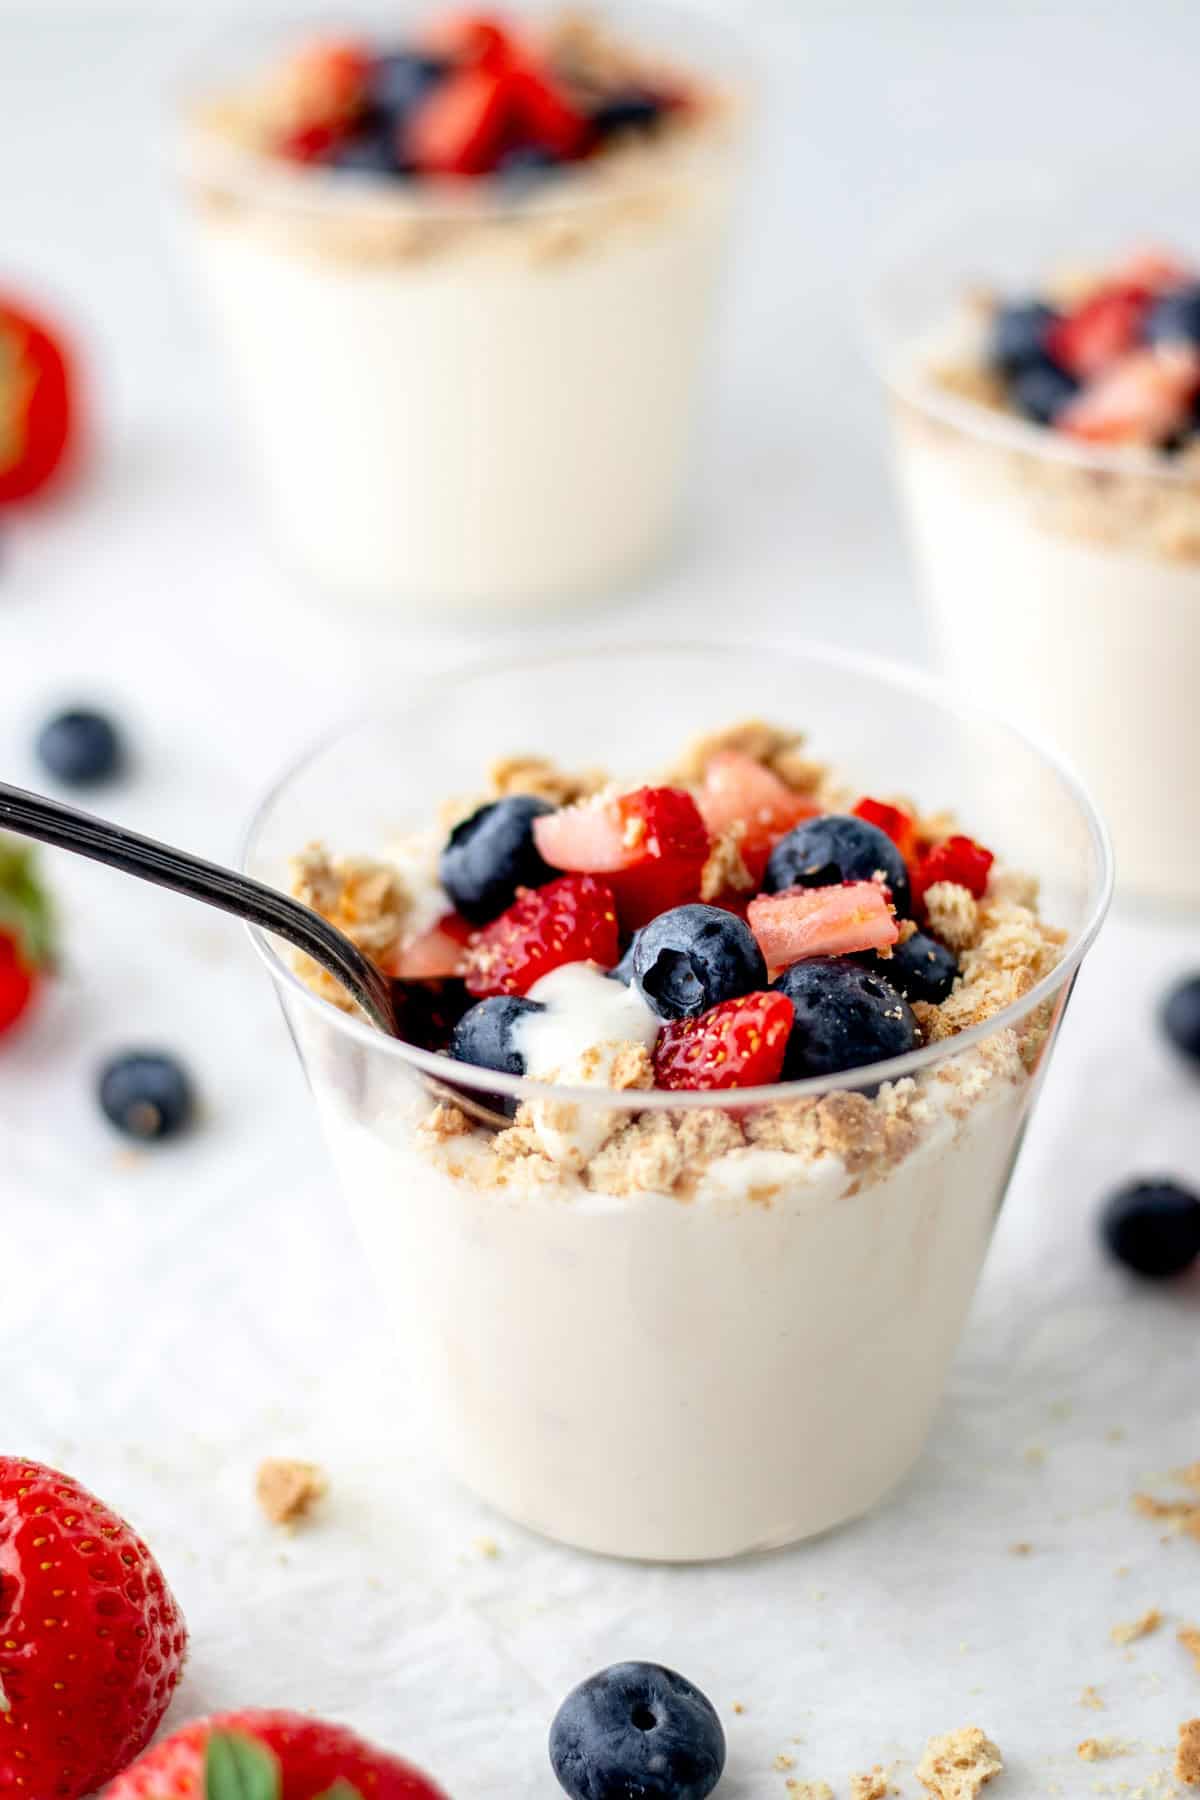
Table of Contents
3-Ingredient No Bake Cheesecake Cups (10 minutes!)
As a Registered Dietitian, I love a sweet treat that doesn’t feel like I’m compromising on either taste or nutrition, so these high protein cheesecake cups are one of my favorite ways to indulge! Made with Greek yogurt, cream cheese and naturally sweetened with maple syrup, these cups provide 13 grams of protein per serving and are a dessert you can feel good about!
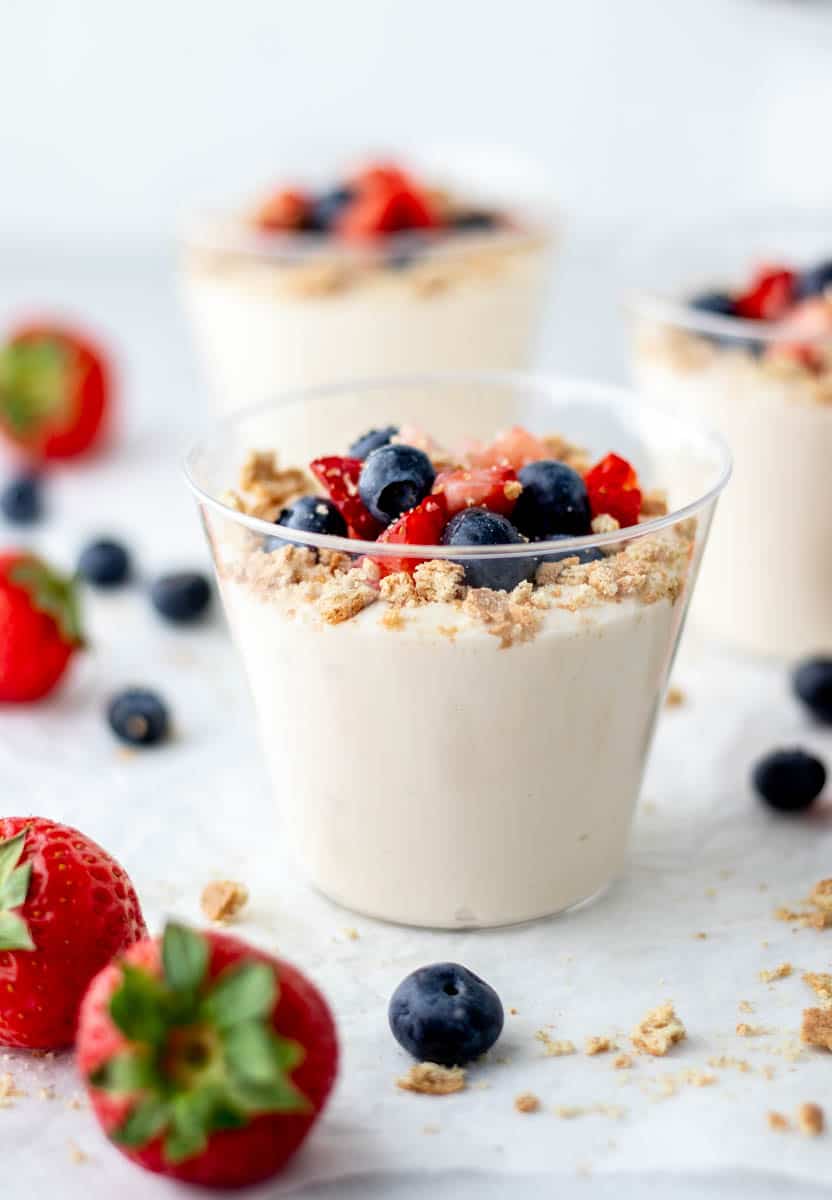
Serve these protein cheesecake no bake cups plain, or load them up with fresh berries and graham cracker crumbs or other desired toppings for a fun and customizable treat the whole family will love!
For more light and creamy desserts, check out this Whipped Cottage Cheese Dessert, Cottage Cheese Chocolate Pudding, Greek Yogurt Cheesecake Dip, and Healthy Fruit Dip Recipe!
Elysia’s Recipe Recap

3 ingredients, 10 minutes: No oven, no springform pan, no fuss. Mix, pour, and refrigerate.
Protein-packed: 13g of protein per serving from Greek yogurt and cream cheese, with no protein powder required.
Lightened up: Made without heavy cream, sour cream, condensed milk, or gelatin for a naturally lighter dessert that still tastes indulgent.
Easily customizable: Switch up the flavors and toppings to suit your personal preference.

Before You Get Started:
A few tips for the best no bake protein cheesecake:
- Use room-temperature cream cheese. Cold cream cheese won’t blend smoothly, and you’ll end up with a lumpy filling. Let it sit out for 20–30 minutes before mixing.
- For a thicker, creamier texture. Full-fat cream cheese and higher-fat Greek yogurt produce a richer, firmer result. Low-fat or reduced-fat versions still taste great, but the filling will be softer.
- Chill for at least an hour before serving. This gives the filling time to firm up. For a thicker consistency, you can even chill the cups for 6–8 hours or overnight.
- Add toppings right before serving. If making ahead, hold off on the toppings to keep everything fresh!
Ingredient Notes

- Cream cheese: I typically use a brick of reduced-fat Philadelphia cream cheese to limit overall saturated fat and calories, but you can use full-fat if preferred for a richer and creamier texture. Avoid the tubs of spreadable cream cheese.
- Greek yogurt: Used to replace your typical sour cream or heavy cream for a ligher, and higher protein option. Use plain low fat or a higher fat Greek yogurt. Either option works here!
- Maple syrup: Added to sweeten the cheesecake filling. Use 100% pure maple syrup, or substitute sugar-free maple syrup if you prefer a lower-sugar and lower-carb option.
How to Make No Bake High Protein Cheesecake Cups

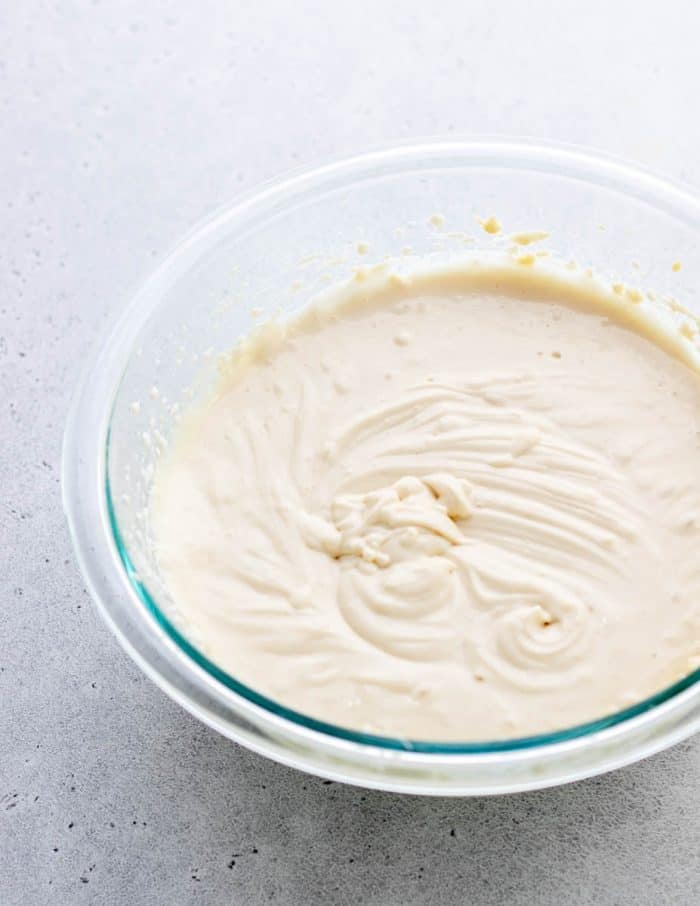
- Using a hand mixer or stand mixer with a whisk attachment, beat the softened cream cheese and maple syrup together in a large bowl until smooth and creamy.
- Add the Greek yogurt and beat on medium-high speed until fully combined and fluffy.
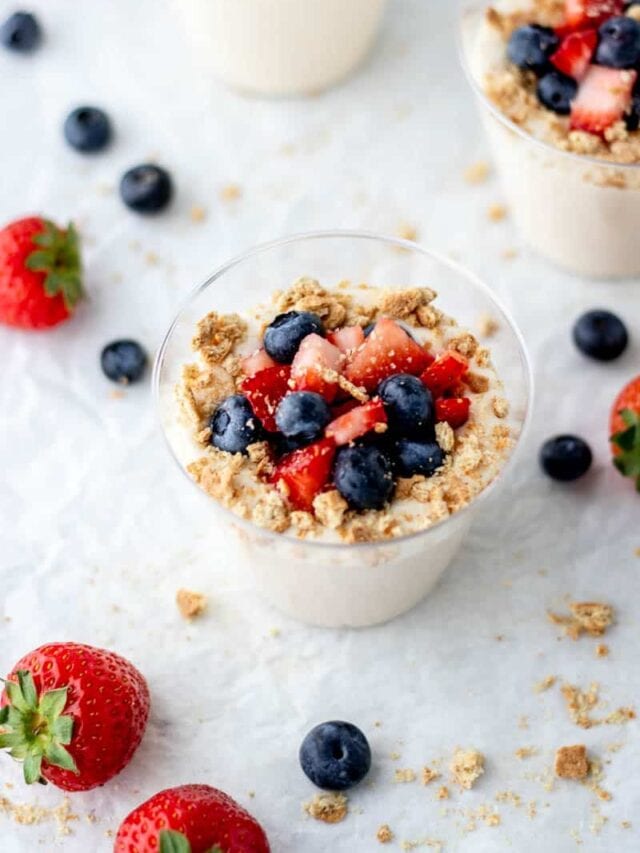
- Divide the mixture evenly among 3 larger cups, 6 smaller cups, or mason jars. For larger portions, use 7–9 oz clear plastic or glass cups. For mini cheesecakes, 4-ounce mason jars are ideal and look great for parties or showers!
- Refrigerate for at least 1 hour to allow the filling to firm up slightly.
- Top with your favorite toppings just before serving. We love it with fresh berries and crushed graham crackers for the classic flavor.
Scroll to the recipe card below for the full printable recipe!
No Bake vs. Baked Cheesecake: What’s the Difference?
Traditional baked cheesecake has a firmer, denser texture from the oven and typically contains eggs. No-bake cheesecake skips the oven entirely, and the filling sets in the fridge instead. This results in a softer, creamier texture. There’s no right or wrong, just personal preference!
This high protein no bake cheesecake version also swaps out heavy cream and condensed milk for Greek yogurt, making it a much more nutritious option without sacrificing that classic cheesecake flavor. And because it’s no-bake, it’s faster, lighter, and the perfect warm-weather treat!

Storage
Store leftovers of this high protein no bake cheesecake recipe, covered with plastic wrap (or use the mason jars with lids), in the fridge for up to 5 days.
You can also freeze them in freezer-safe containers for up to 3 months. Thaw in the fridge overnight before serving. The texture may be slightly softer after freezing.
Topping Ideas
Keep it simple or get creative! Some favorite combinations:
- Classic: Fresh berries (or strawberry chia jam) and crushed graham crackers
- Chocolate: Cocoa powder dusted on top, chocolate chips, or a drizzle of chocolate sauce
- Tropical: Mango chunks, toasted coconut, and a squeeze of lime
- Caramel apple: Diced apple, a drizzle of caramel, and a pinch of cinnamon
- Nut butter: A swirl of peanut butter or almond butter with crushed granola
- Cookie dough: Crumbled energy balls (try these no peanut butter protein balls or protein cookie dough bites)
- A little indulgence: Whipped cream, chopped nuts, or shaved white chocolate and raspberry sauce
Tip: Feel free to use a combination of toppings for your own creative spin! If you choose to use graham crackers, you can either crush them by hand or in the food processor.

Flavor Variations
Stir any of the following into the cheesecake filling before chilling:
- Pumpkin: 2–3 tablespoons pumpkin puree and a dash of pumpkin spice
- Vanilla: 1 teaspoon vanilla extract
- Citrus: ½–1 teaspoon lemon/lime/orange juice and 1 teaspoon zest
- Key lime: ½–1 teaspoon lime juice and 1 teaspoon lime zest
- Chocolate: 2 tablespoons cocoa powder (add chocolate chips for a double chocolate version)
- Peanut butter: 2–3 tablespoons natural peanut butter or peanut butter powder
Make It Your Own
- Extra protein boost: Swap the maple syrup for vanilla protein powder for an even higher protein dessert.
- Keto/low carb: Use sugar-free maple syrup and a plain Greek yogurt with no sugar added.
- Lower fat: Use reduced-fat cream cheese and 0% Greek yogurt.
- Different sweetener: Honey or date syrup works well in place of maple syrup.
More Tasty Treats
- Blueberry Cheesecake Overnight Oats
- Healthy Crepe Filling
- Mini No Bake Cheesecake
- No Bake Peppermint Cheesecake Bites
- No Bake Pumpkin Cheesecake Bites
- Healthy Cottage Cheese Desserts
Did you make this recipe? Scroll down to leave a star rating and review!

3-Ingredient No Bake Protein Cheesecake Cups
Video
Ingredients
- 8 ounces reduced fat cream cheese (1 whole brick) at room temperature
- 1 cup plain Greek yogurt
- 1/4 cup maple syrup
Optional toppings:
- Fresh berries
- Crushed graham crackers
Instructions
- Using an electric hand mixer or stand mixer with a whisk attachment, mix together the cream cheese and maple syrup until creamy.
- Mix in Greek Yogurt and beat on medium-high speed until smooth and creamy.
- Evenly distribute the no-bake cheesecake mixture between 3 larger cups or 6 small cups or jars.
- Place in fridge for at least an hour to allow the mixture to firm up slightly.
- When ready to serve, top with berries and crushed graham crackers or other desired toppings (see post above for some ideas). Enjoy!
Notes
- Allow the cream cheese to come to room temperature before mixing it to make it easier to blend. This will result in a creamier texture.
- Dairy products with a higher fat content will produce a creamier cheesecake filling, with a thicker texture. You can use a higher fat percentage cream cheese and Greek yogurt if you want the cheesecake to be creamier, or stick with lower fat if you’re watching your calorie and fat intake. It tastes great either way!
- If making these cups ahead of time, I recommend holding off on adding any toppings until you’re ready to serve to keep the topping ingredients nice and fresh. It tastes better and makes for a nicer presentation!
Nutrition
This recipe was originally posted in July 2022 and was updating in June 2024 to include more helpful tips. The text, formatting and some photos were updated again in June 2026.


This is our go to dessert when we’re craving something sweet. Quick to make and so delicious! ❤️
That’s amazing!! I’m so happy it’s become a go-to for you :) I appreciate you taking the time to return and provide such kind feedback!
ACTUAL HEAVEN!
IT TASTES LIKE NORMAL CHEESECAKE .
I USED GINGER OAT CRACKERS INSTEAD AND IT WAS SOOO GOOD!
Right?! So glad you loved it! I bet it was delicious with the ginger oat crackers! Thanks so much for your kind review :)
Is it okay to use light and fit vanilla yogurt instead of plain greek yogurt?
You could try it! The consistency might not be as thick and creamy as it would be with the Greek yogurt, but I’m sure it would still taste good. Keep me posted on how it goes if you try it out!
I only found your recipe by chance because I forgot a major ingredient in my grandma recipe, this is probably the best recipe I’ve tried and for the yogurt I used a triple berry flavor with teaspoon of vanilla extract.
Love the addition of the triple berry yogurt and vanilla extract..yum!! So happy you enjoyed the recipe! Thanks so much for returning to leave a rating and review :)